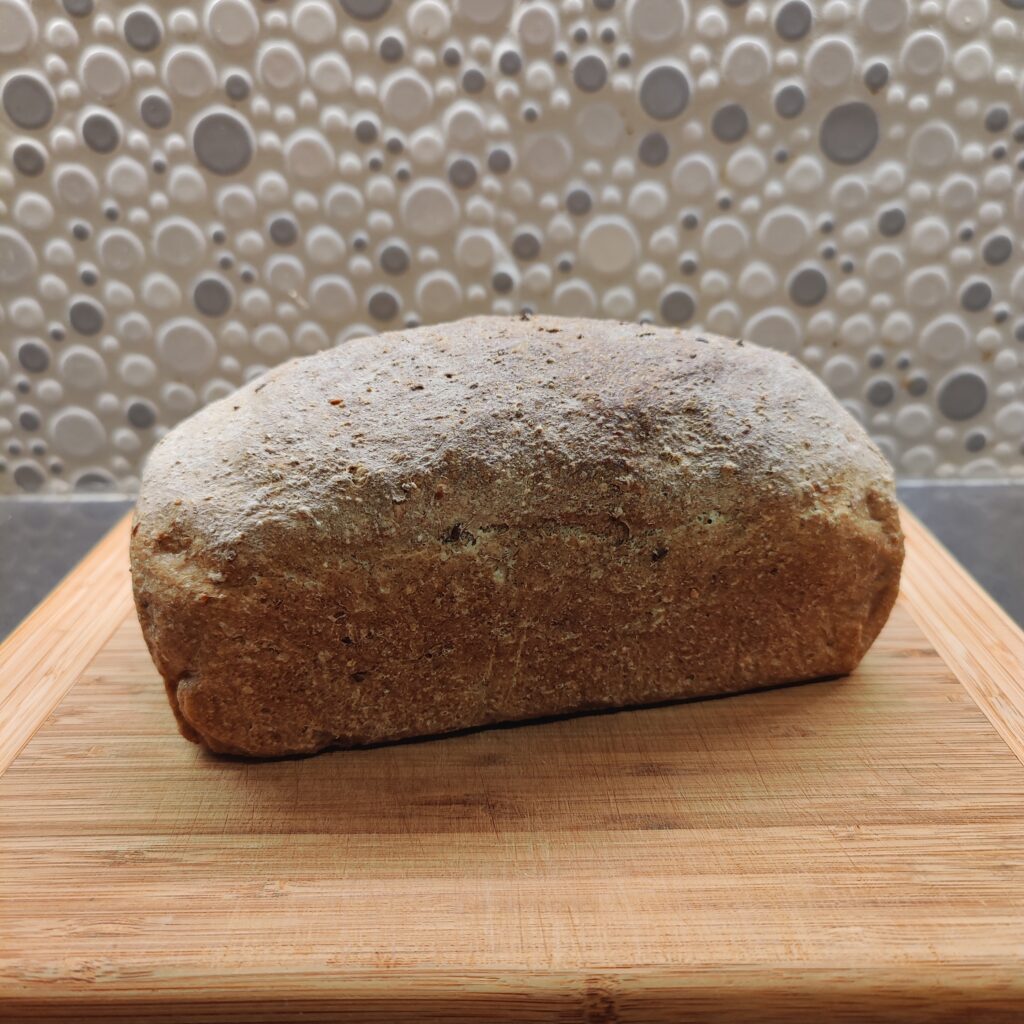
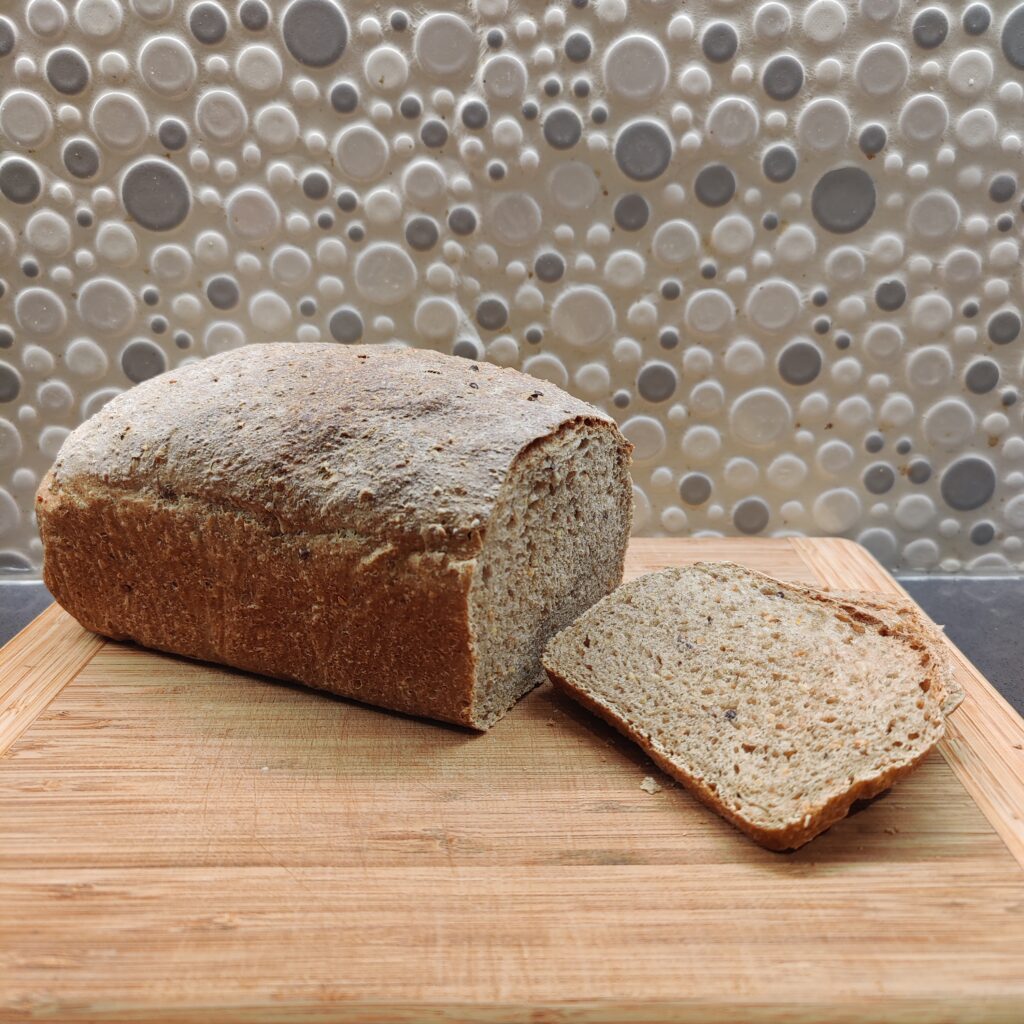
Got asked to share the recipe / method I use to make our sourdough bread, in which George the starter turns into George the loaf. So here it is.
Ingredients
- 450 gr flour, of which:
- 75 gr whole meal rye flour
- 175 gr whole meal wheat flour
- 200 gr white wheat flour
- 10 gr salt
- 200 gr water
- 5 gr olive oil
- 230 gr sourdough starter (100% hydration)
For those interested in the nerdiness, here is the math: 230 gr of 100% hydration starter equals 115 gr of water & 115 gr of flour, so this recipe has in total 565 gr of flour & 315 gr of water, which means the loaf is made with 55,75% (315×100/565) hydration. This is a fairly low hydration ratio as far as recipes go.
Instructions
Day 1 – Feeding the starter, making the dough & shaping the bread
- Early in the morning (7 am) feed your starter (see Sourdough Starter & Sourdough Discard Crackers for how we feed George).
- Allow the starter to ferment and double, which will take about 6 hours in George’s case.
- When the starter is active enough, separate enough starter to keep (120gr) and use the rest to prepare your dough.
- In the bowl of a stand mixer, add all the ingredients for the dough.
- Mix 8 minutes on low speed
- Rest 16 minutes
- Mix 8 minutes on low speed
- Turn the dough onto a very lightly floured counter and give it a few kneads by hand until a smooth non-sticky dough forms.
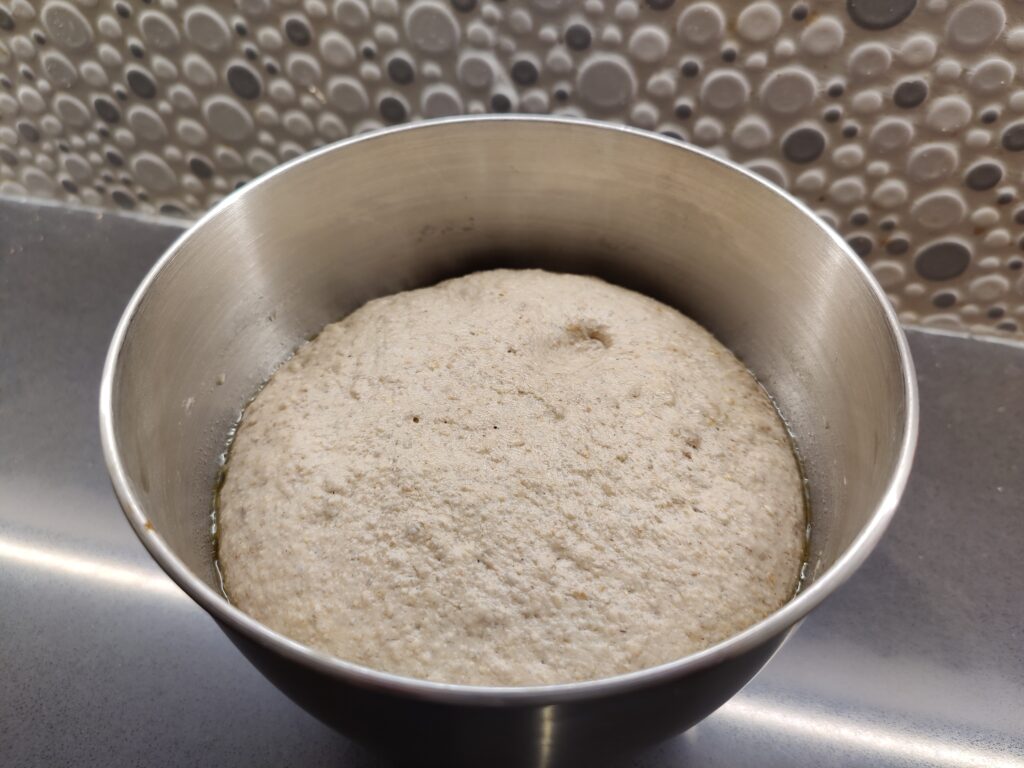
- Place dough on very lightly oiled bowl (use the one from the mixer), cover with a shower cap or a loose silicon cover (no towel!) and let rest and ferment for 8-9 hours.
- After 8-9 hours, the dough will have grown to 2-2,5 times the original volume.
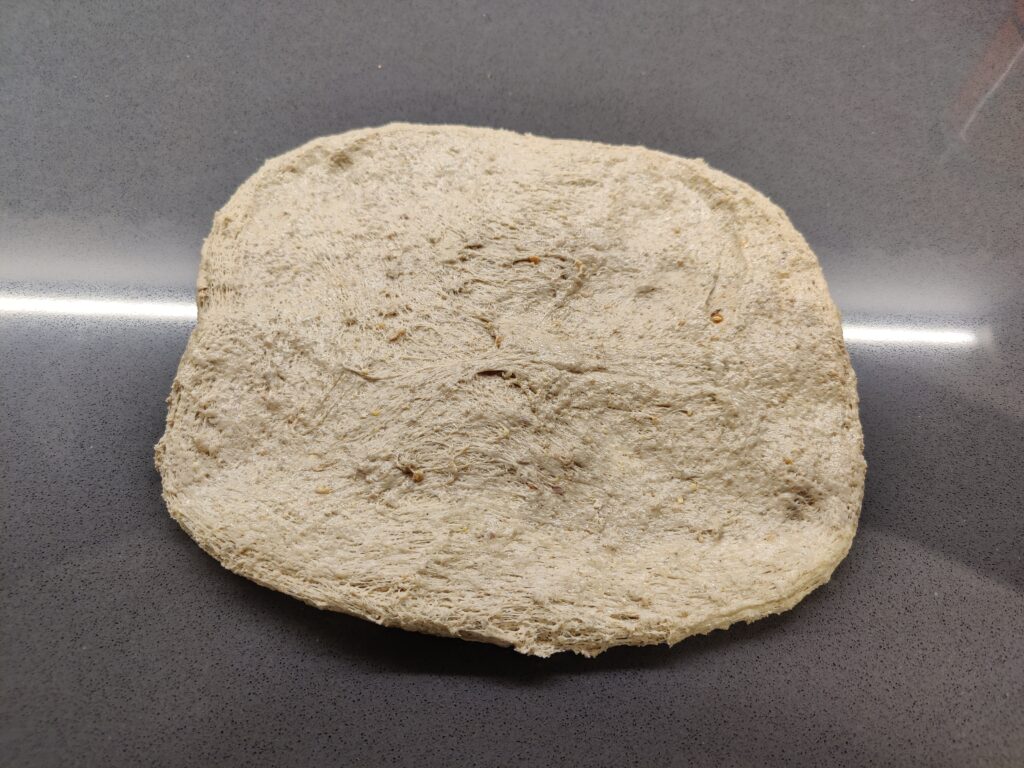
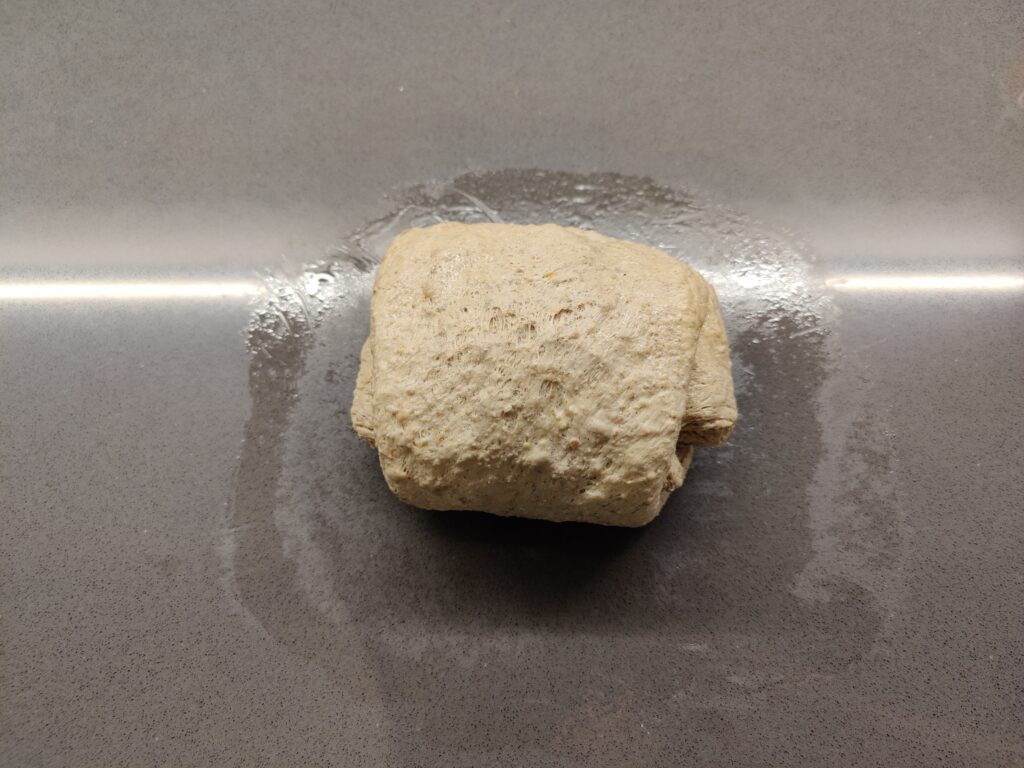
- Turn dough onto counter (no need to flour), degas and shape into a flat log (I like to flatten, then fold in 3, turn 90 degrees & fold again in 3 before rolling into a log).
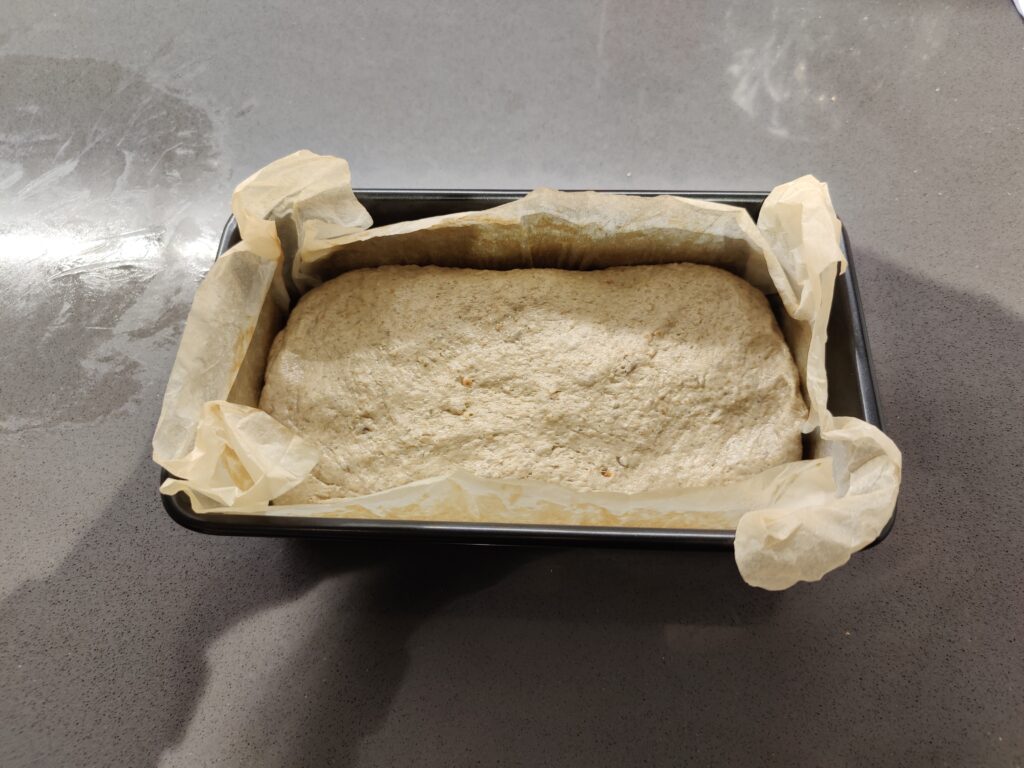
- Place log into a bread tin lined with baking paper. Cover with shower cap, and find it a place to chill overnight in the fridge.
Day 2 – Rising & baking
- In the morning, take the loaf out of the fridge, and place in a warm place to rise. Our proofing box is the microwave, boil water in a mug in the microwave, quickly place the loaf inside trying to keep as much heat & steam in the microwave as possible.
- Allow the dough to rise until it has doubled or nearly tripled in volume again. This will take around 6 hours, depending on proofing conditions.
- Place a grill in the middle of the oven & one on the bottom level. Place a roasting pan on the bottom grill. Preheat oven (with empty roasting pan) to 180°C convection (200°C normal).
- When the oven reaches the temperature, pour 500 ml of water in the roasting pan, place the loaf (in its tin, without the shower cap) on the grill placed in the middle.
- Bake bread for 40 minutes.
- Take bread out of the oven, remove from tin and allow to cool.
Makes: one loaf
Below a selection of stages from the rising, shaping, rising & baking process (to be completed).